Creating a Hosted Checkout
Creating a hosted checkout allows you to generate a payment page with a unique URL that you can share with your customers. This page enables them to make payments or subscribe to your services without needing to create an account first.
Required Permissions
To create a hosted checkout in the BillaBear admin system, you need to have a role of Account Manager or higher.
Learn more about user roles here
Understanding Hosted Checkout Fields
When creating a hosted checkout, you'll need to provide several pieces of information:
Required Fields
- Name: A descriptive name for the checkout (for your internal reference)
- Brand: The brand settings to use for the checkout (affects appearance and email templates)
- Slug: A URL-friendly identifier that will be used in the checkout URL
Optional Fields
- Permanent: Whether the checkout should never expire (if not permanent, you can set an expiration date)
- Customer: An existing customer to associate with the checkout (leave empty for public checkouts)
- Expiration Date: When the checkout should expire (only if not permanent)
- Success Redirect: URL to redirect customers to after successful payment
- Cancel Redirect: URL to redirect customers to if they cancel the payment
Step-by-Step Guide
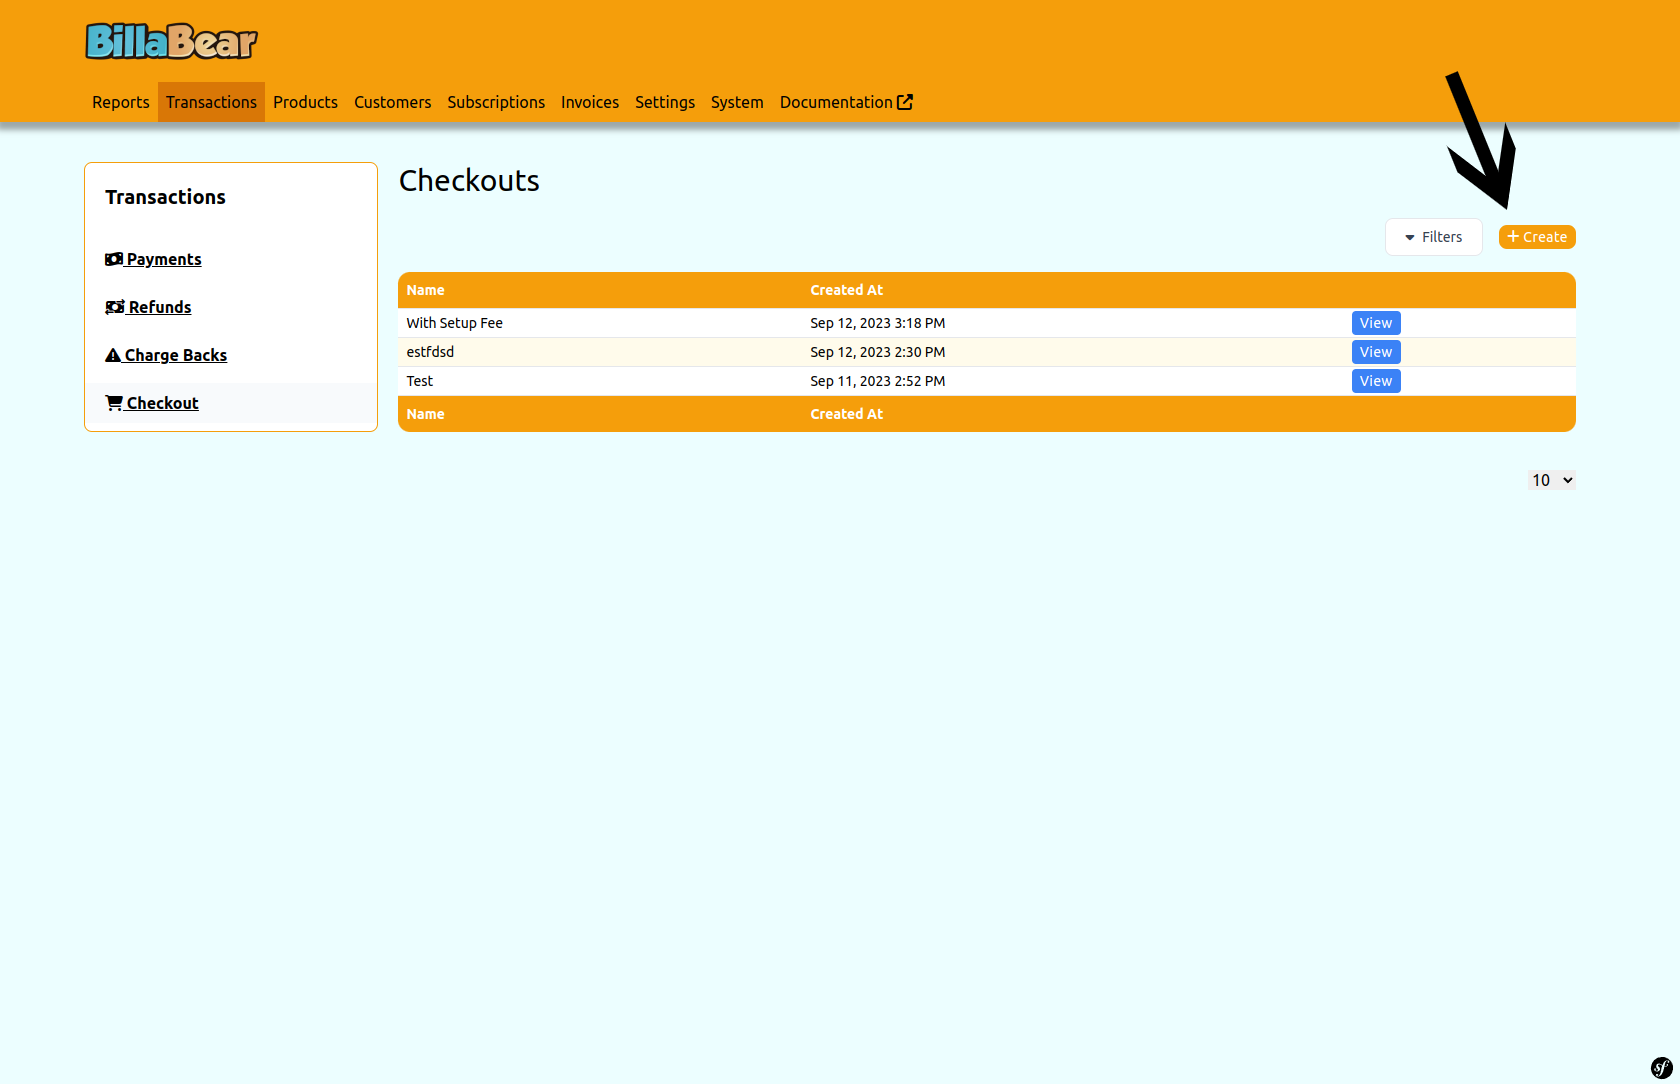
Step 1: Access the Create Checkout Form
From the Hosted Checkouts page, click the Create button in the top-right corner.
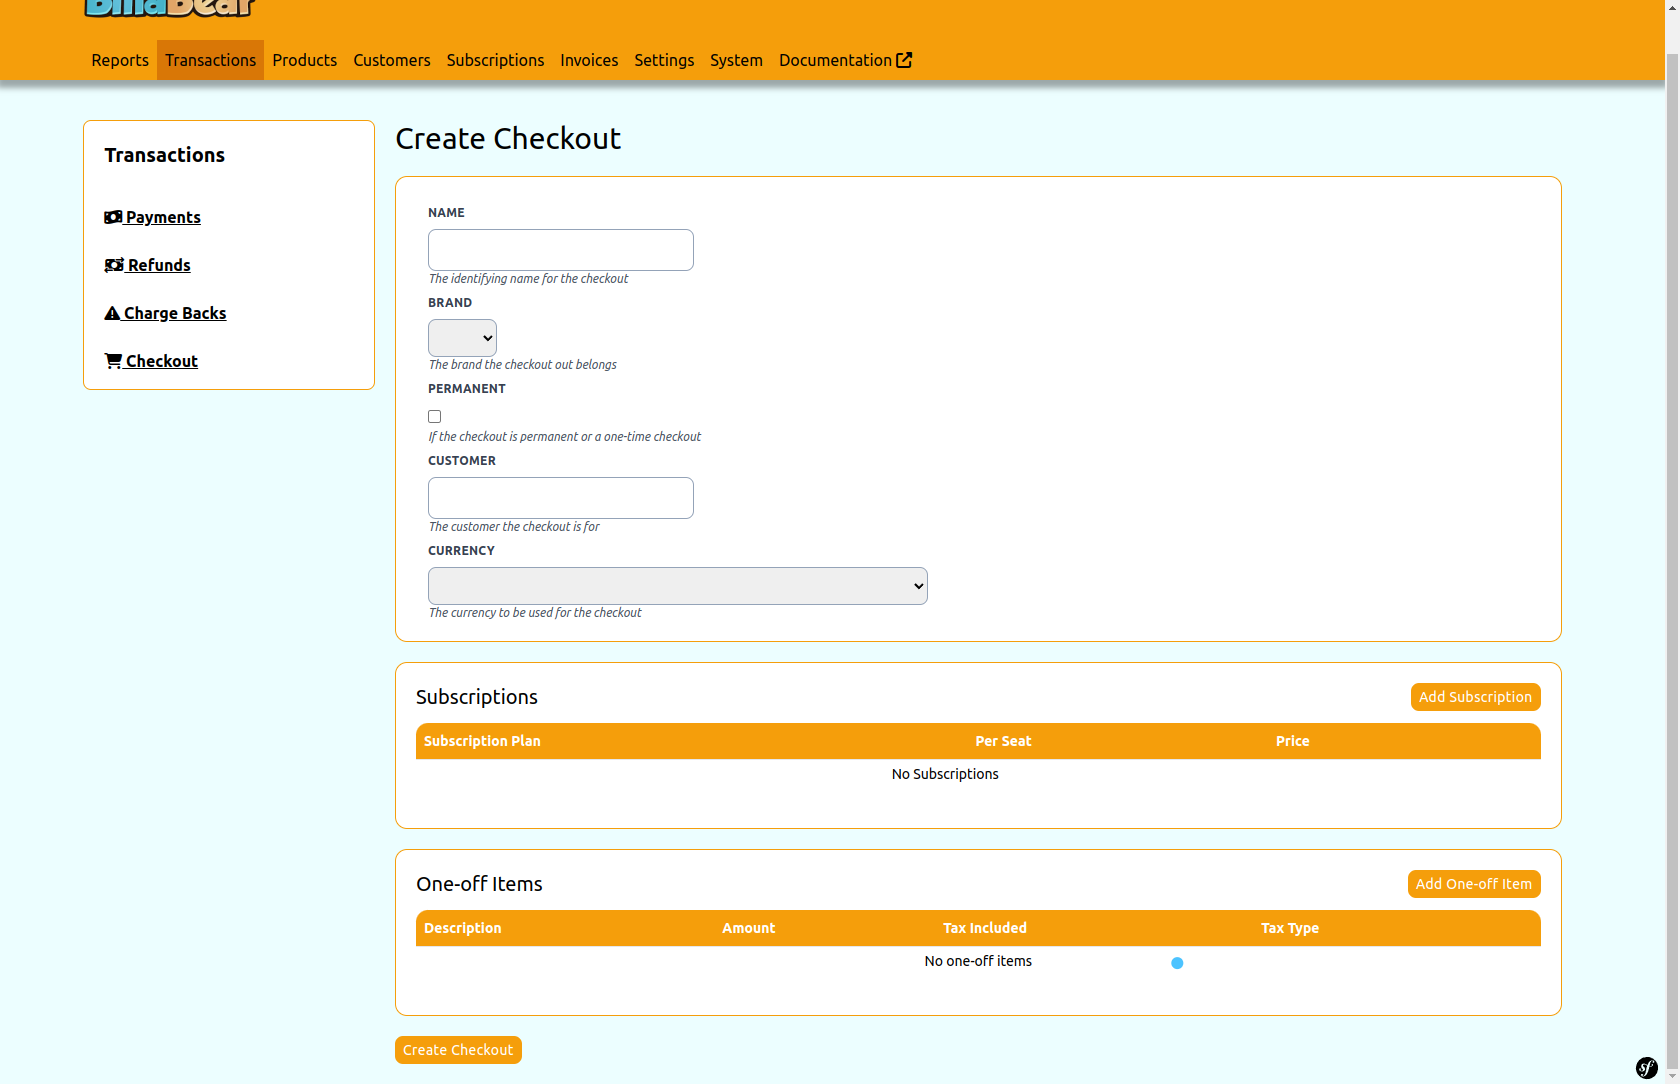
Step 2: Fill in the Checkout Details
Complete the form with the necessary information:
- Enter a descriptive Name for the checkout
- Select the appropriate Brand from the dropdown
- Enter a unique Slug for the checkout URL
- Choose whether the checkout should be Permanent or have an expiration date
- Optionally, select an existing Customer if the checkout is for a specific customer
- If not permanent, set an Expiration Date
- Optionally, enter Success Redirect and Cancel Redirect URLs
Step 3: Add Items (Optional)
If you want to include one-time items in the checkout:
- Click the Add Item button
- Enter a Description for the item
- Enter the Amount to charge
- Select the Currency
- Choose whether the amount Includes Tax
- Select the appropriate Tax Type
- Click Add to include the item in the checkout
Step 4: Add Subscriptions (Optional)
If you want to include subscriptions in the checkout:
- Click the Add Subscription button
- Select the subscription Plan from the dropdown
- Select the Price option for the plan
- Optionally, specify the number of Seats if applicable
- Click Add to include the subscription in the checkout
Step 5: Create the Checkout
After entering all the required information and adding any items or subscriptions, click the Create button at the bottom of the form to create the hosted checkout.
What Happens Next
After creating a hosted checkout:
- The checkout is added to your BillaBear system
- A unique URL is generated based on the slug you provided
- You can share this URL with your customers via email, your website, or other channels
- When customers visit the URL, they can complete their purchase
- After payment, customers are redirected to the success URL you specified (or a default thank you page)
Managing Hosted Checkouts
You can view and manage all your hosted checkouts from the Hosted Checkouts page. From there, you can:
- View checkout details
- Copy the checkout URL
- Invalidate a checkout (prevent it from being used)
- Create new checkouts
Troubleshooting
If you encounter issues when creating a hosted checkout:
- Ensure all required fields are completed
- Check that the slug is unique and contains only letters, numbers, underscores, and hyphens
- Verify that any items or subscriptions have valid tax types and prices
- Confirm that success and cancel redirect URLs are valid and include the http:// or https:// prefix
- Verify you have the necessary permissions (Account Manager or higher)