Create API Key
When integrating with the API, you need to provide an API key for all requests to authenticate that the client is allowed to make the request. This guide explains how to create a new API key in the BillaBear admin system.
Permissions
To create an API key in the BillaBear admin system, you must have a user role of developer or higher.
API Key Security Best Practices
When working with API keys, follow these security best practices:
- Treat API keys like passwords - They provide access to your billing system and customer data
- Set expiration dates - Always set an appropriate expiration date for API keys
- Use different keys for different integrations - Create separate keys for each application or service
- Rotate keys regularly - Replace keys periodically, especially for production environments
- Limit access - Only share keys with those who need them
- Monitor usage - Regularly review API key usage for suspicious activity
- Disable unused keys - Promptly disable keys that are no longer needed
How To
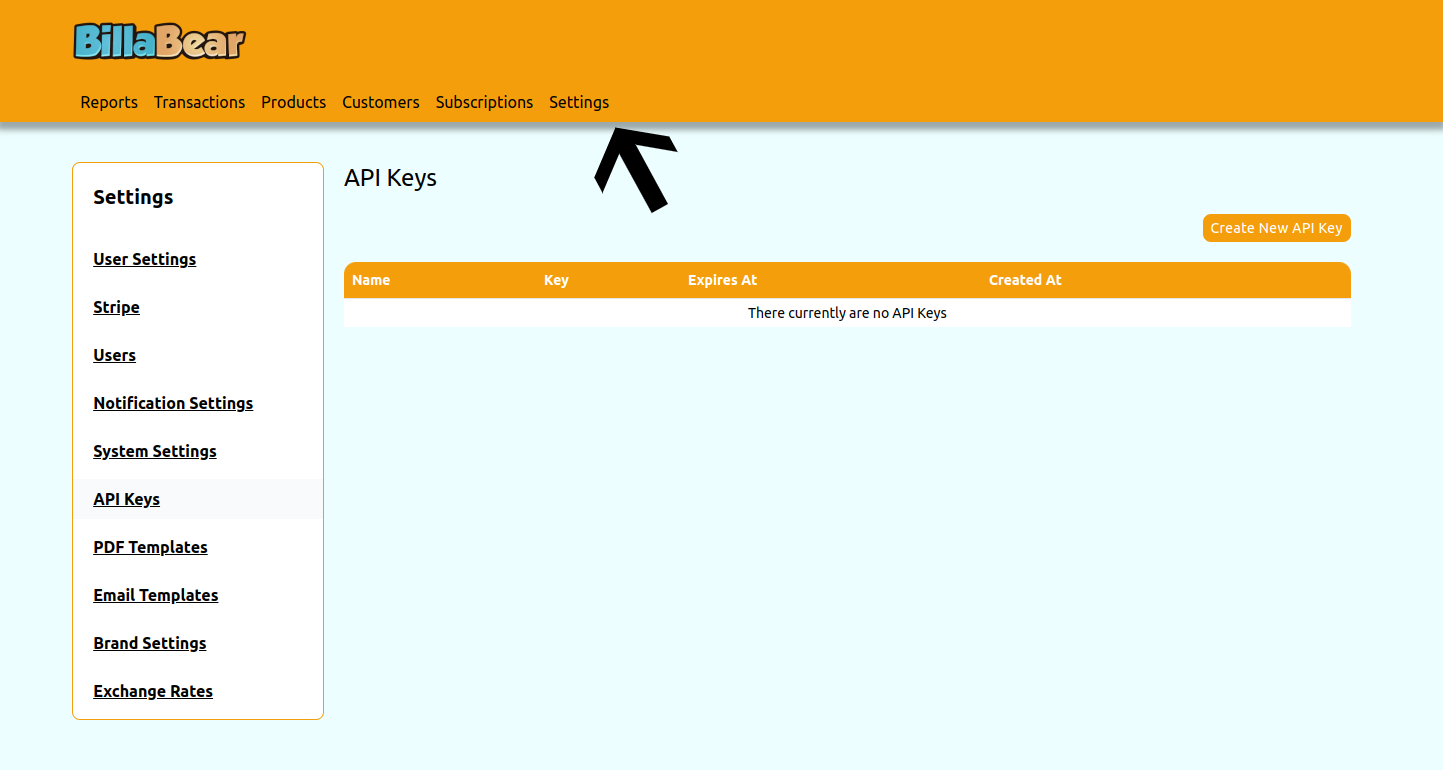
Step 1. Click Settings
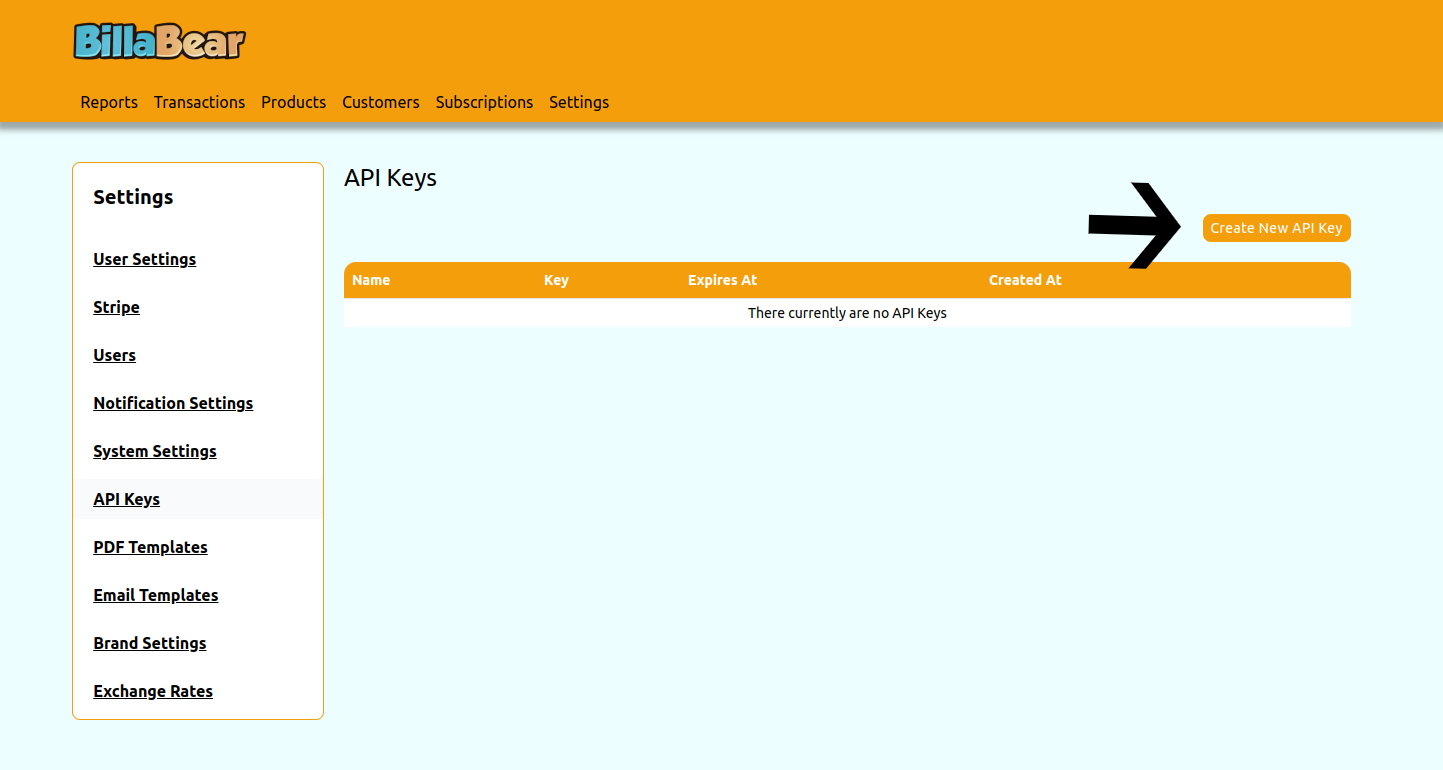
Step 2. Click API Keys

Step 3. Click Create
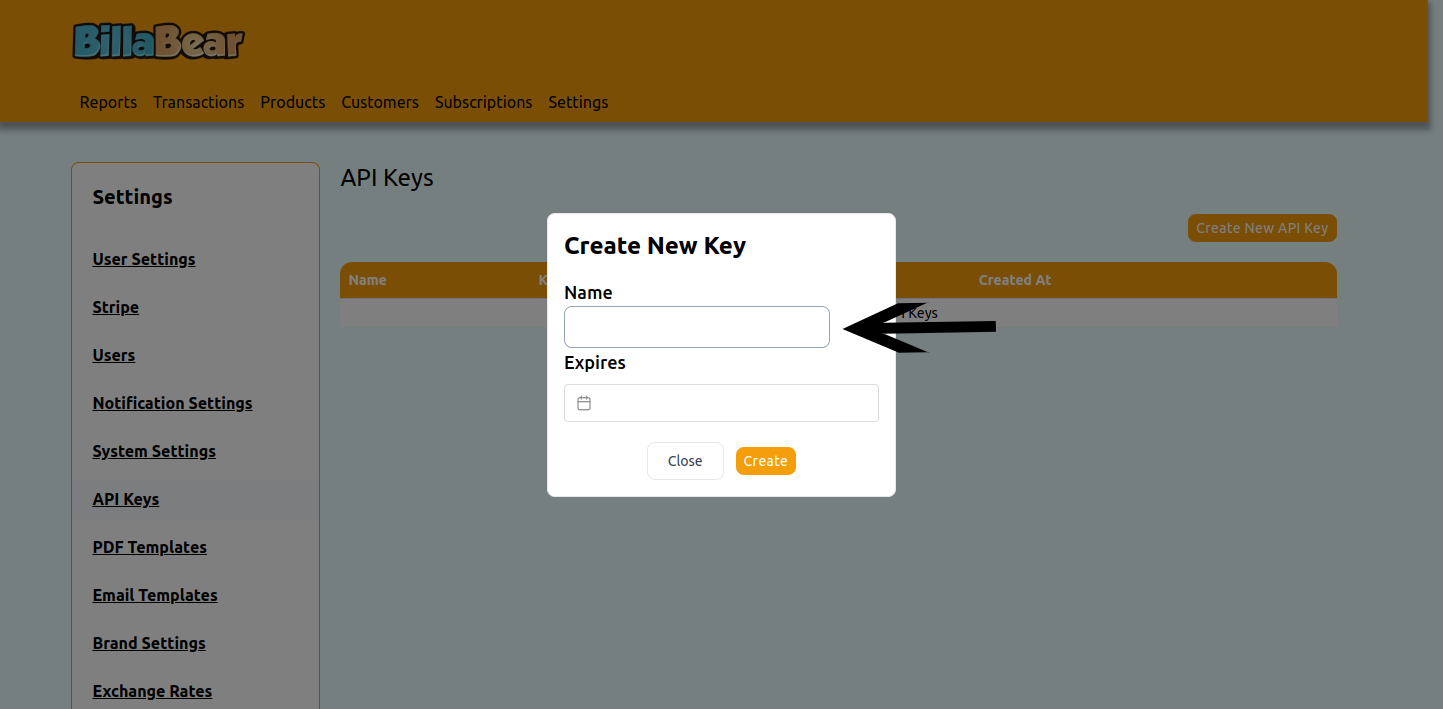
Step 4. Enter Name
Step 5. Enter Expires At
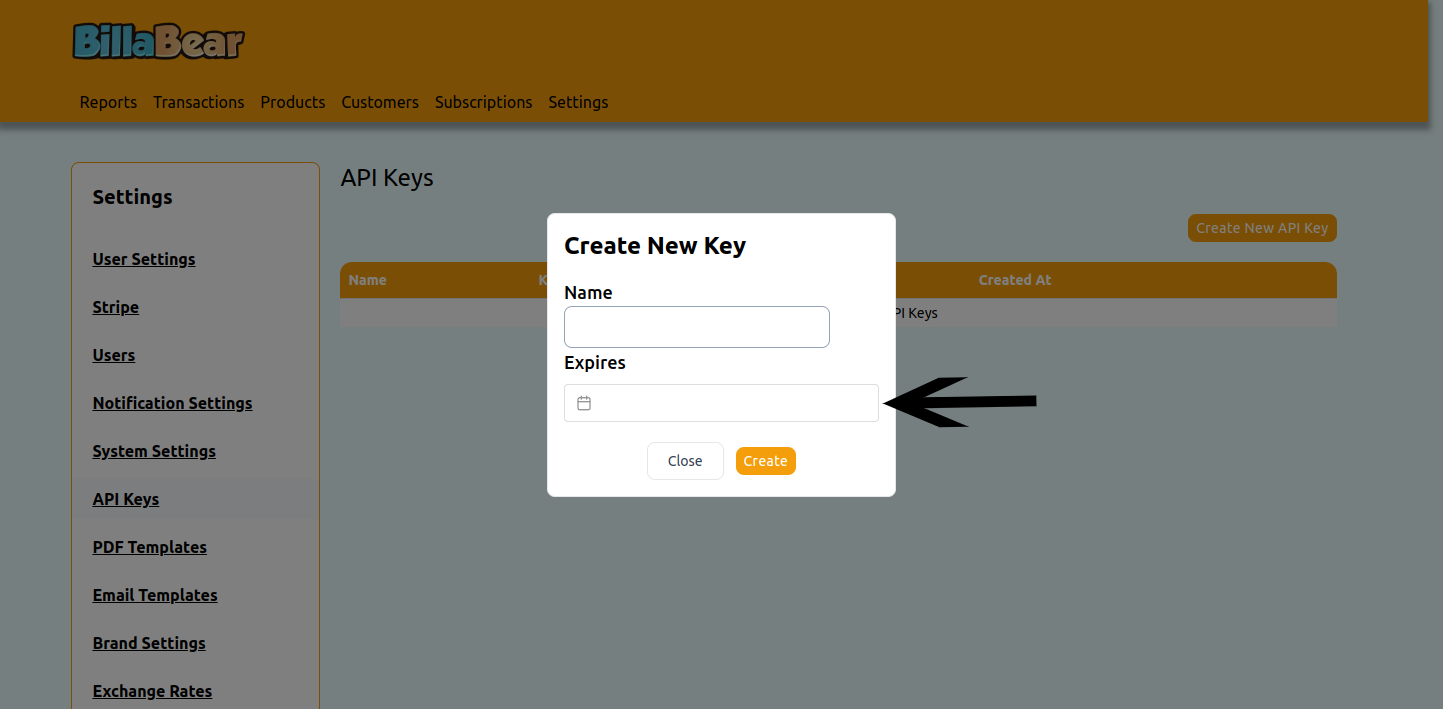
Step 6. Click Create

Step 7. Save Your API Key
After clicking Create, you'll see a confirmation screen with your new API key displayed. This is the only time the full API key will be shown.
IMPORTANT: Copy and securely store your API key immediately. For security reasons, BillaBear only displays the complete API key once. If you lose it, you'll need to create a new one.
Using Your API Key
To use your API key in API requests, include it in the Authorization header:
Authorization: Bearer YOUR_API_KEY
Example using curl:
curl -X GET "https://your-billabear-instance.com/api/v1/customers" \
  -H "Authorization: Bearer YOUR_API_KEY" \
  -H "Content-Type: application/json"